What to do after?
Post Recording

STEP 1
Ensure you have the recording.
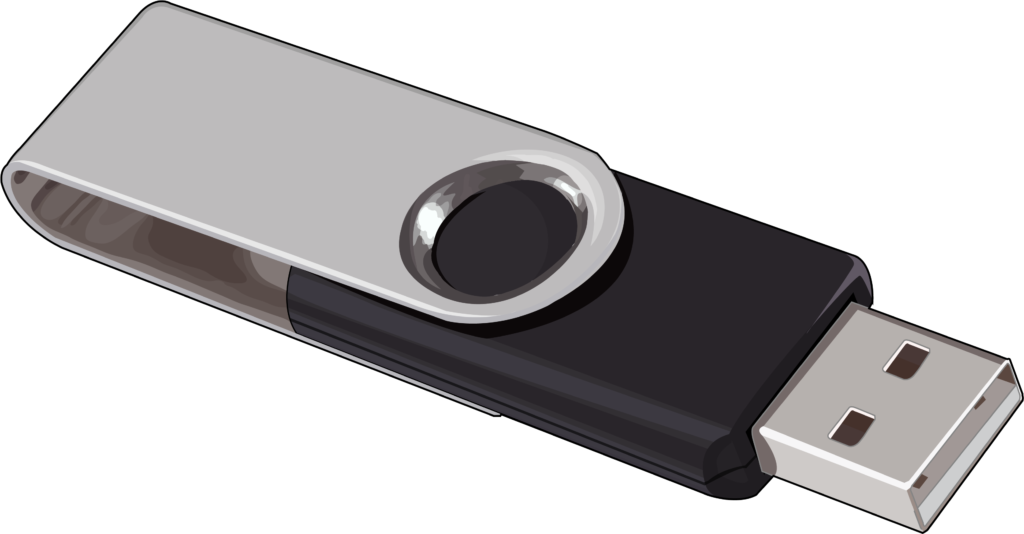
Before you leave the studio, you should ensure you have your video on your USB thumb drive. Use the studio computer, plugin your USB thumb drive to ensure your video is there and save yourself a trip.
Step 2
Edit your video.
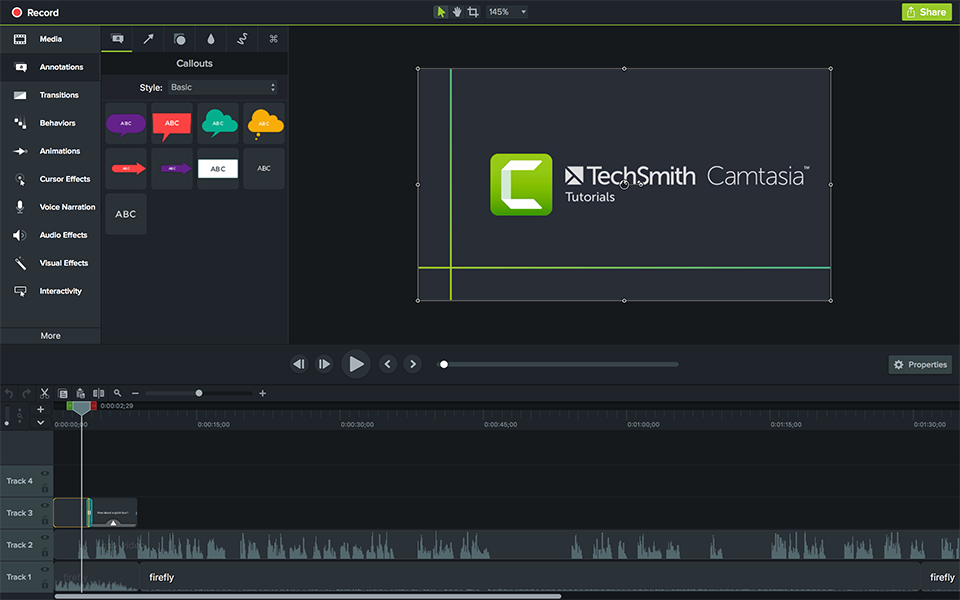
It is not required but most people may want to edit their videos either to chop off the beginning and ends, split up their videos into sections, or add in external audio tracks.
Camtasia is a screen recorder and video editor software that allows you to do just that. It is now available for all faculty and instructional staff on a KPU issued device. Request yours now by simply making a request to the integral T&L/IT Service Desk.
Want to learn more about Camtasia, visit our knowledge base.

Step 3
Upload your video.
Once your video is ready to be consumed, it can be uploaded to Kaltura (KPU’s video management platform). This ensures your video to be playable on any devices, and ensures your video is stored locally according to FIPPA regulations.
Learn more about Kaltura in our knowledge base or watch the pre-recorded webinar.
